⭐ Trusted by hundreds of customers
(MPN ID: 6704324)
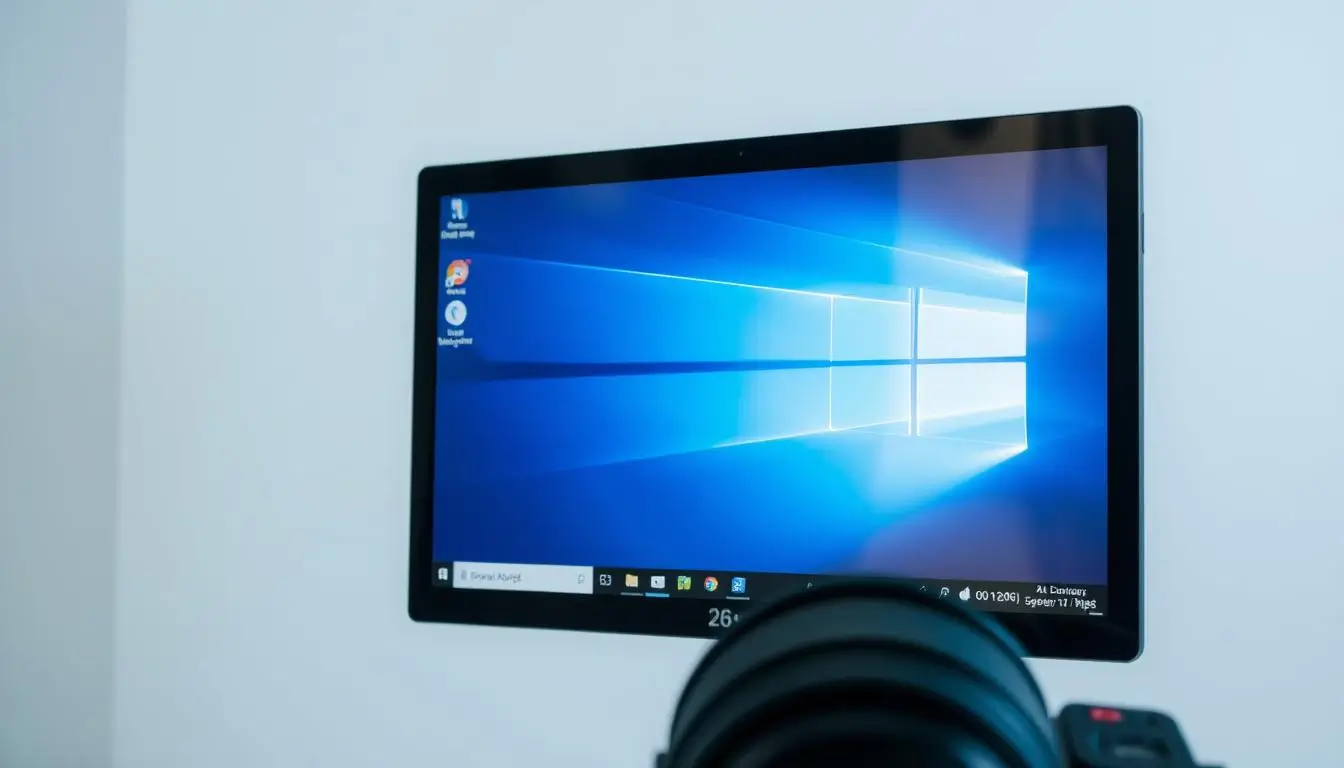
Ever needed to take a screenshot in Windows 10 but didn’t know how? It’s actually quite simple. Taking a screenshot is key in today’s visual world. I’ll show you how to capture the whole screen or just a part of it using the print screen method.
When using computers, taking screenshots is often needed. A screenshot is an image of what’s on your screen at a certain time. It’s useful for making tutorials, reporting bugs, or sharing info.
After taking a screenshot, I usually edit it. This lets me point out important parts or remove private info. Managing these screenshots is also key, as they can fill up your storage space.
Some common uses of screenshots include:
Knowing how to take, edit, and manage screenshots helps me work better. Next, we’ll look at how to take screenshots in Windows 10. We’ll cover the Print Screen method and the Snipping Tool.
To capture a screenshot in Windows 10, I use the print screen method. It’s one of the simplest ways to take a screenshot. By pressing the print screen button on my keyboard, I can capture the entire screen or a selected region. This method is a key Windows keyboard shortcut for quickly capturing and saving screenshots.
Pressing the print screen button copies the screenshot to the clipboard. Then, I open an image editing program, like Microsoft Paint, and paste the screenshot. I can edit and save it as an image file. This method is both convenient and efficient, making it great when used with other Windows keyboard shortcuts.
Some useful Windows keyboard shortcuts to use with the print screen method include:
The print screen method is very versatile. It’s great for capturing error messages or saving images from the web. By mastering this method and using other Windows keyboard shortcuts, I can make my workflow more efficient and increase my productivity.
| Keyboard Shortcut | Action |
|---|---|
| Print Screen | Captures the entire screen |
| Alt + Print Screen | Captures the currently active window |
| Windows + Print Screen | Saves the screenshot directly to the “Screenshots” folder |
The Windows 10 Snipping Tool makes taking screenshots easy. To start, type “Snipping Tool” in the search bar and click it. Then, you can pick from full-screen, window, or rectangular snips.
This tool is great for editing screenshots. You can crop, resize, and add notes with the image editing tools. It also lets you save screenshots in PNG, GIF, and JPEG formats.
Here are some benefits of using the Snipping Tool:
Using the Snipping Tool with image editing software can make your screenshots top-notch. It’s perfect for work or personal use. The Windows 10 Snipping Tool is a must-have for anyone who needs to capture and edit screenshots.
The Snipping Tool is a great tool for anyone in Windows 10. It’s easy to use and has lots of features. It’s essential for anyone who wants to improve their screenshot and image editing skills.
| Snipping Mode | Description |
|---|---|
| Full-screen | Captures the entire screen |
| Window | Captures a specific window |
| Rectangular | Captures a rectangular area of the screen |
In Windows 10, the Windows + Shift + S shortcut is a big help for screenshots. It opens the screen capture tool and lets me pick a screen area to capture. This makes it a key part of my work.
This shortcut is great for windows keyboard shortcuts because it’s easy and fast. Pressing Windows + Shift + S lets me take a screenshot of a certain screen part. It’s perfect for sharing info or showing a process.
Using this shortcut has many benefits:
There are other windows keyboard shortcuts for taking screenshots in Windows 10 too. For example, the Print Screen button captures the whole screen. Or, the Snipping Tool lets me capture a specific area.
The Windows + Shift + S shortcut is very useful for anyone taking screenshots in Windows 10. By using it with other windows keyboard shortcuts, I can make my work flow better and be more productive.
I’ve learned some cool advanced screenshot techniques. One is taking delayed screenshots. This lets me capture a screenshot after a set time. It’s great for catching dropdown menus or tooltips.
To do this, I use the Snipping Tool, which comes with Windows 10. I also use keyboard shortcuts to make things easier. For example, the Print Screen button captures the whole screen. The Alt + Print Screen buttons capture the active window.
Another cool trick is custom area selection. It lets me pick a specific part of the screen to capture. This is handy for screenshots of graphs or charts. I use the Snipping Tool to choose the area, then edit the screenshot in software.
For those with multiple monitors, taking screenshots can be tricky. But Windows 10 makes it easy. I can use Windows + Print Screen to capture all monitors at once. Or, I can use the Snipping Tool to pick a specific area.
These advanced techniques help me improve my image editing skills. Whether it’s delayed screenshots, custom areas, or multi-monitor captures, I can use shortcuts and software to get the job done.
Managing screenshots is key. After taking a screenshot, I think about where to store it. There are many ways to keep screenshots organized, like using file management software.
I use image editing tools to make my screenshots smaller. This makes them easier to share or save. Adobe Photoshop and GIMP are popular choices for this.
To stay organized, I make folders for each project. This makes finding screenshots simple. I also use tags to categorize them, making them easy to search.
Good file management and image editing are vital. They help me keep my screenshots tidy and accessible. Whether for a project or sharing, my system helps me find what I need fast.
Benefits of good screenshot storage and file management include:
When you take a screenshot, you might face problems like a black screen, file saving errors, or low image quality. It’s key to know why these issues happen and how to fix them. Here, we’ll look at some common screenshot problems and offer tips to solve them.
Some common issues include:
To improve your screenshot, think about using image editing software for image editing and file management. This can help you make your screenshot better. Also, screenshot tools can help you capture specific parts of the screen, making it easier to manage your screenshots.
By following these tips and using the right tools, you can fix common screenshot problems and get high-quality screenshots. Always save your screenshots safely and use file management to keep them organized.
Mastering screenshot troubleshooting helps you take and manage screenshots efficiently. This makes it easier to share information and work with others. Whether for personal or professional use, it’s important to have high-quality and easily accessible screenshots.
| Issue | Cause | Solution |
|---|---|---|
| Black screen | Software glitch | Restart computer or update software |
| File saving error | Insufficient disk space | Save file in different location or format |
| Poor image quality | Low screen resolution | Use image editing software to adjust resolution and contrast |
We’ve looked at many ways to take screenshots on Windows 10. You now know how to capture, manage, and share your screen images easily. From the basic Print Screen to the advanced Snipping Tool and keyboard shortcuts, you’re ready to be a screenshot pro.
Whether you’re making tutorials, fixing problems, or sharing moments, taking good screenshots is key. With Windows 10’s tools, you can work better, be more productive, and share more clearly.
Keep trying out new ways to take screenshots on Windows 10. Find what works best for you and stay current with updates. Windows 10’s screenshot features are very useful for both personal and work projects.
So, keep your Windows 10 skills sharp. Let screenshots help you in your digital life. Happy capturing!
A screenshot is an image of your computer screen at a certain time. It’s useful for making tutorials, reporting bugs, or sharing info. It helps you show others exactly what you see on your screen.
There are many reasons to take screenshots. They help when you need to show a step or problem clearly. They’re great for creating guides, fixing tech issues, or sharing info with others.
Windows 10 offers advanced screenshot methods. You can take delayed shots, choose custom screen areas, and capture on multiple monitors. You can also edit your screenshots with software.